How to master Storage Spaces in Windows 8
You can divide that pool into spaces with names like ‘My Movie Space’ or ‘Jane’s Spreadsheets’ that function exactly like traditional formatted Windows directories. In fact, it isn’t entirely accurate to describe your motley crew of heterogeneous hard drives as a pool; the spaces in Storage Spaces are actually formatted with a unique file system that renders all incorporated hard drives inaccessible to Windows proper.

Building your first pool
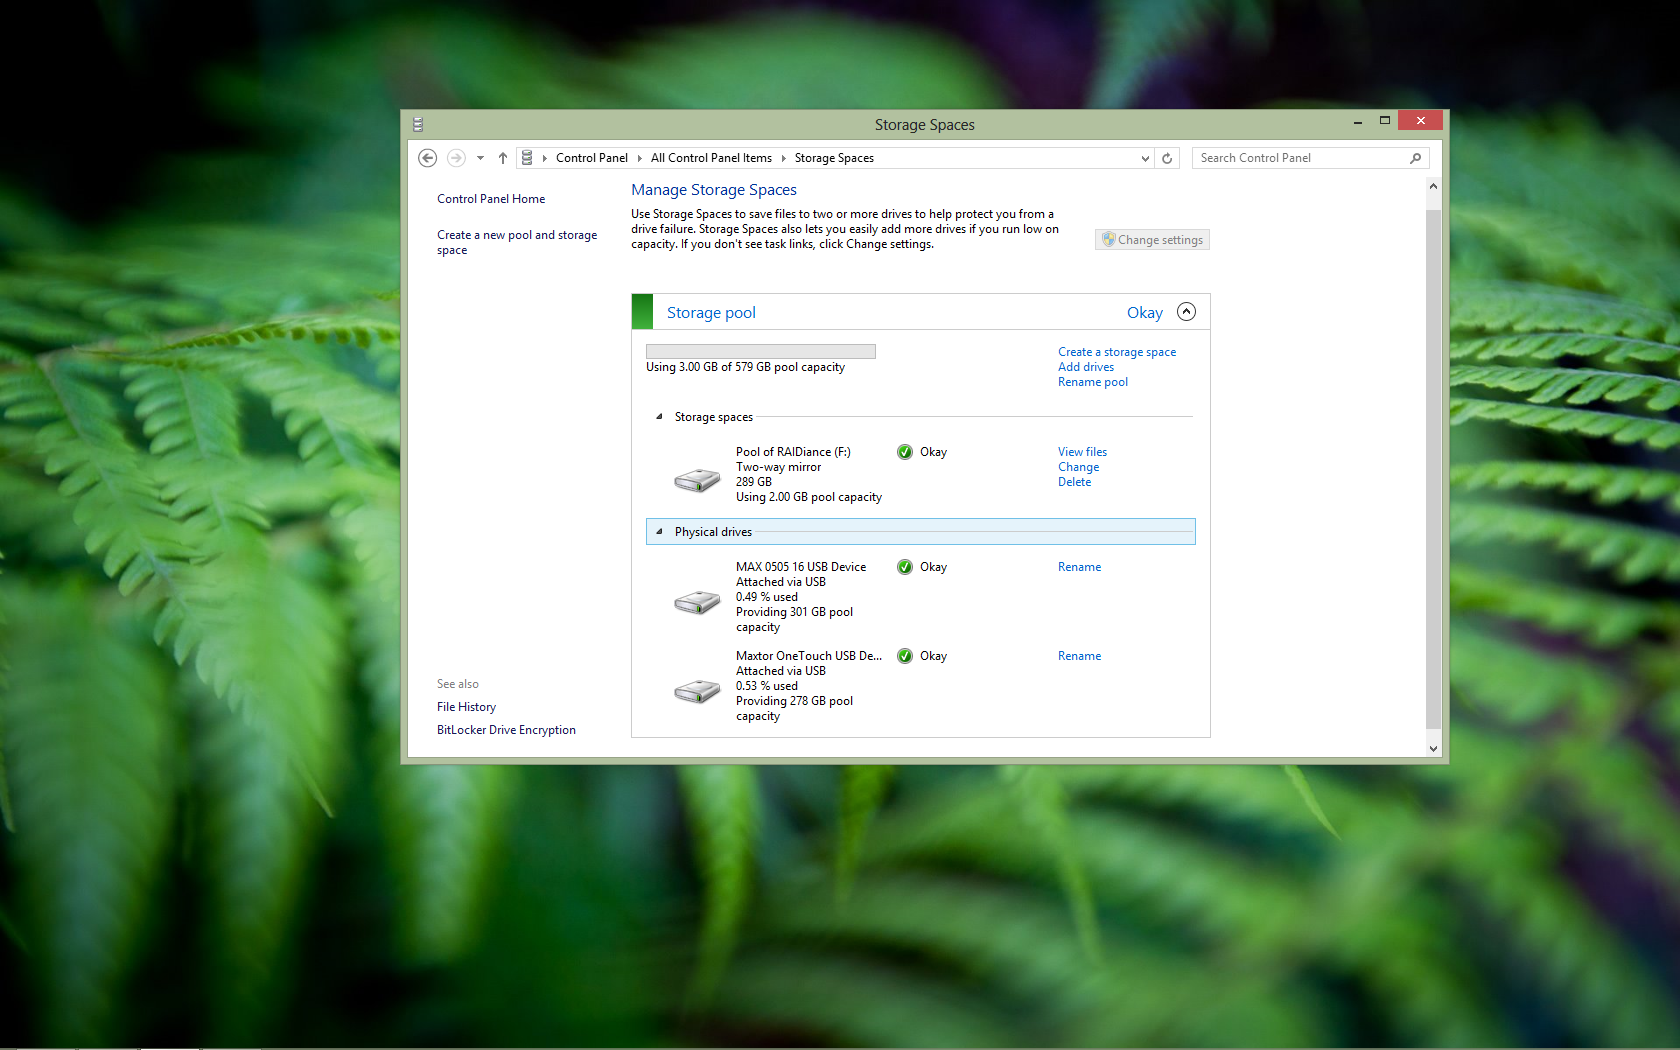
To create a new pool, first make sure that all of the storage devices you want to include are connected to your PC; then open your Windows 8 Control Panel by pressing your Windows key, typing control panel, and pressing Enter. Select the Storage Spaces option from the Control Panel, and select Create a new pool and storage space.Windows 8 will display a list of drives attached to your PC that are compatible with Storage Spaces. Select the drives that you want to use in your new pool, but be aware that Windows 8 will format them, meaning that you’ll permanently lose any data already stored on them. Before creating a pool, click the View files option next to each drive that you wish to use, to check its contents. If you don’t see one or more of your drives listed, confirm that they’re properly connected to your PC and that they’re compatible with Windows 8. Once you’ve selected all of the drives that you want to format into your new pool, press the Create pool button at the bottom of the menu.


Comments
Post a Comment